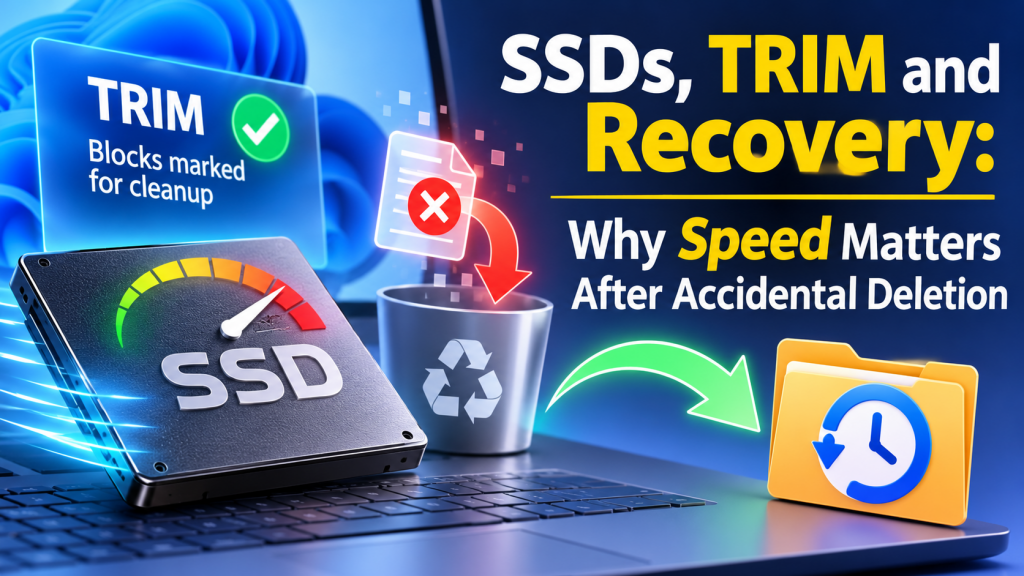
Classic data-recovery advice was written for spinning hard drives: deleted data stays on the platter until something overwrites it, so stop using the drive and you have time. Solid-state drives broke that assumption. On an SSD, Windows actively tells the drive which blocks no longer hold anything useful, and the drive is free to erase them in the background — even if you never write another byte. This post explains how that works (TRIM, garbage collection and Windows’ scheduled retrim), shows you how to check what your own PC is doing, and gives an honest picture of when recovery from an SSD is still possible.
If you have not read it yet, what to do next after deleting a file covers the general emergency steps. This article is about the part of the story that is specific to flash.
Why SSDs need TRIM in the first place
NAND flash has an awkward rule: you can write to an empty page (typically a few kilobytes), but you cannot overwrite a page in place. To reuse it, the drive must first erase the whole block that contains it — and a block holds hundreds of pages. So an SSD never really writes “where the file was”. Its controller keeps a translation table (the flash translation layer, or FTL) that maps the logical block addresses Windows uses onto whatever physical pages it chose this time.
The problem is that, without help, the drive has no idea which logical addresses the file system considers free. When NTFS deletes a file, it only edits its own metadata. From the SSD’s point of view, those pages still hold valid data, so it would keep carefully copying them around during housekeeping forever. Performance drops, and the flash wears faster.
TRIM fixes this. It is a command (called Data Set Management / TRIM on SATA, Deallocate on NVMe, UNMAP on SCSI/UAS) that lets the operating system say: “logical addresses X through Y are no longer in use.” The drive drops them from its map and marks the physical pages stale.
What happens after TRIM, step by step
1. You empty the Recycle Bin / Shift+Delete
2. NTFS clears the MFT in-use flag and frees the clusters in $Bitmap
3. Windows sends TRIM for those cluster ranges to the SSD
4. FTL unmaps the logical addresses   -> reads now return zeros (on most drives)
5. Garbage collection later erases the physical blocks -> data physically gone
Step 4 is the one that surprises people. Many modern SSDs report deterministic read after TRIM: as soon as an address has been trimmed, reading it returns zeros (or another fixed pattern), regardless of whether the physical flash has actually been erased yet. A recovery tool asking the drive for those sectors gets nothing back, because the drive’s own map no longer points anywhere. The data may still physically exist in a flash chip for a while, but it is not reachable through any normal interface — only through specialised chip-level lab work, and even that is often defeated by controller-level encryption.
Step 5, garbage collection, runs on the drive’s own schedule whenever it is powered and idle. You cannot see it and you cannot stop it, short of removing power.
HDD vs SSD after deletion
| Hard drive (HDD) | SSD with TRIM | |
|---|---|---|
| What deletion changes | File system metadata only | Metadata, then the drive’s own address map |
| What destroys the data | A later write to the same clusters | TRIM + garbage collection, no new writes needed |
| Typical time window | Hours to years, depending on activity | Often very short once TRIM has been sent |
| MFT record still readable? | Yes, until reused | Usually yes — the MFT itself is not trimmed |
| File contents readable? | Yes, until overwritten | Often zeros once trimmed |
| “Stop using the drive” helps? | A lot | Somewhat — TRIM may already have happened |
The fourth row matters. The MFT is live metadata, so a deleted file’s record — its name, size and timestamps — often survives on an SSD exactly as it would on a hard drive. A recovery scan can therefore list the file convincingly while its actual contents read back as zeros. That gap between “the name is there” and “the data is there” is why you should always preview before trusting a result.
DeepRecoveryDesk — Check Before You Hope
DeepRecoveryDesk recovers deleted files from internal HDDs and SSDs by reading the NTFS master file table, and from USB sticks and SD cards on FAT32 and exFAT. Results stream in live with a colour-coded confidence, and you can preview any file — a text snippet, an image thumbnail or a hex dump — before recovering it, so you can see straight away whether real data came back. Source drives are opened strictly read-only.
Check whether TRIM is enabled on your PC
Windows enables TRIM automatically for drives that report support. To check, open an elevated Command Prompt or PowerShell:
fsutil behavior query DisableDeleteNotify

:: Typical output
NTFS DisableDeleteNotify = 0  (Allows TRIM operations to be sent to the storage device)
ReFS DisableDeleteNotify = 0  (Allows TRIM operations to be sent to the storage device)
The double negative trips everyone up: 0 means TRIM is on, 1 means it is off. Leave it at 0 for normal use — turning TRIM off to “protect” deleted files costs performance and drive life every day for a benefit you may never need. Backups are the right answer to that worry.
Next, find out what kind of drives you actually have and how they are connected:
# Media type (SSD / HDD) and bus (NVMe, SATA, USB...)
Get-PhysicalDisk | Select-Object FriendlyName, MediaType, BusType, Size

# Which volume sits on which disk
Get-Partition | Select-Object DiskNumber, DriveLetter, Size
Windows also retrims on a schedule
TRIM is not only sent at the moment of deletion. The built-in Optimize Drives tool (the same one that defragments hard drives) runs a retrim on SSDs, re-sending TRIM for all free space on the volume. By default it runs on a weekly schedule through a scheduled task. That means even if an individual TRIM was missed — for example, a burst of deletions while the system was busy — the next optimisation pass will usually catch it.
# Is the optimisation task enabled, and when did it last run?
Get-ScheduledTask -TaskName ScheduledDefrag | Get-ScheduledTaskInfo |
  Select-Object LastRunTime, NextRunTime

# What a manual retrim looks like (do NOT run this after a deletion you want to undo)
Optimize-Volume -DriveLetter C -ReTrim -Verbose
Notice the warning in the comment. The last thing you want after deleting something important from an SSD is to trigger a retrim yourself, and the same goes for running “disk cleanup” or “optimise” utilities.
When TRIM does not happen
TRIM is common but not universal. Recovery odds on flash are noticeably better when any of these apply:
- The file never left the Recycle Bin. A file in the bin is not deleted at all from the drive’s perspective — no TRIM has been sent. This is by far the best case.
- USB sticks, SD cards and many USB enclosures. Cheap flash media and USB bridges often do not pass TRIM/UNMAP through, so they behave much more like a hard drive: data stays until overwritten. Some USB SSDs using UAS do support UNMAP, so check with
Get-PhysicalDiskrather than assuming. - Older drives, some RAID setups and some virtual disks that do not report TRIM support.
- Files deleted moments ago on a drive that queues TRIM rather than processing it immediately. This varies by drive and firmware and is never something to count on.
And a few situations work against you even more than a normal delete:
- Quick format of an SSD volume trims the entire volume. Expect almost nothing to be recoverable afterwards.
- Emptying the Recycle Bin sends TRIM for everything in it at once.
- Shadow copies are the exception that helps: blocks preserved in a shadow copy are still in use by the snapshot, so they are not freed or trimmed. If System Restore was protecting the drive, check Previous versions before anything else.
DeepRecoveryDesk — Start With the Recycle Bin
The best odds on any drive, SSD included, are files that never left the Recycle Bin. DeepRecoveryDesk handles Recycle Bin recovery without administrator rights, then goes deeper on NTFS, FAT32 and exFAT when you need it. It refuses to recover back onto the source drive, verifies every recovered file with SHA-256, and makes no network calls.
A realistic SSD recovery plan
- Check the Recycle Bin first. On an SSD this is where most real recoveries come from.
- Check Previous versions on the parent folder, and any File History or backup you have.
- Do not optimise, clean up, defragment or retrim the drive, and keep writes to a minimum. If the deletion was from a removable SSD or flash card, unplugging it stops any further TRIM from Windows (the drive’s own internal garbage collection may still run while powered).
- Scan with a read-only tool, and recover to a different drive. Never install the tool on, or save results to, the drive you are scanning.
- Preview before you celebrate. If a file’s hex dump is a solid wall of
00 00 00 00, the name survived but the data was trimmed. No software can restore that.
DeepRecoveryDesk follows that workflow. It reads drives strictly read-only, refuses to recover onto the source drive, checks free space on the destination before writing, and marks results whose storage has been taken by another file as Overwritten or Partly overwritten so the list does not promise data that is gone. The preview pane, with its hex view, is how you spot the trimmed-to-zeros case before you waste time on it. It is a pre-1.0 product and, like every recovery tool, it cannot undo TRIM — but it will show you quickly and honestly what is still there.
DeepRecoveryDesk — Check Before You Hope
DeepRecoveryDesk recovers deleted files from internal HDDs and SSDs by reading the NTFS master file table, and from USB sticks and SD cards on FAT32 and exFAT. Results stream in live with a colour-coded confidence, and you can preview any file — a text snippet, an image thumbnail or a hex dump — before recovering it, so you can see straight away whether real data came back. Source drives are opened strictly read-only.
Key takeaways
- SSDs cannot overwrite pages in place, so Windows sends TRIM to tell the drive which addresses are free — and the drive may wipe them without any new writes.
- Many SSDs return zeros immediately for trimmed addresses, even before garbage collection physically erases the flash.
- Check TRIM with
fsutil behavior query DisableDeleteNotify: 0 = enabled. Leave it on and rely on backups instead. - Windows’ Optimize Drives task retrims free space on a schedule; never run a retrim or cleanup after a deletion you want to undo.
- Best odds on flash: the Recycle Bin, shadow copies/Previous versions, and USB/SD media that do not pass TRIM through.
- The MFT record often survives TRIM while the data does not — use a read-only tool like DeepRecoveryDesk and preview every result before trusting it.
Leave a Reply