Say you want to record a quick how-to for a colleague, a product demo, or a lesson for students. The moment you start looking for tools, the friction begins: one app records your screen but can’t trim the result, so you export it and open a second app to edit — and that one stamps a watermark across your video, caps you at five minutes, or asks for a monthly subscription before it will let you save. What should be a ten-minute job turns into an afternoon of workarounds.
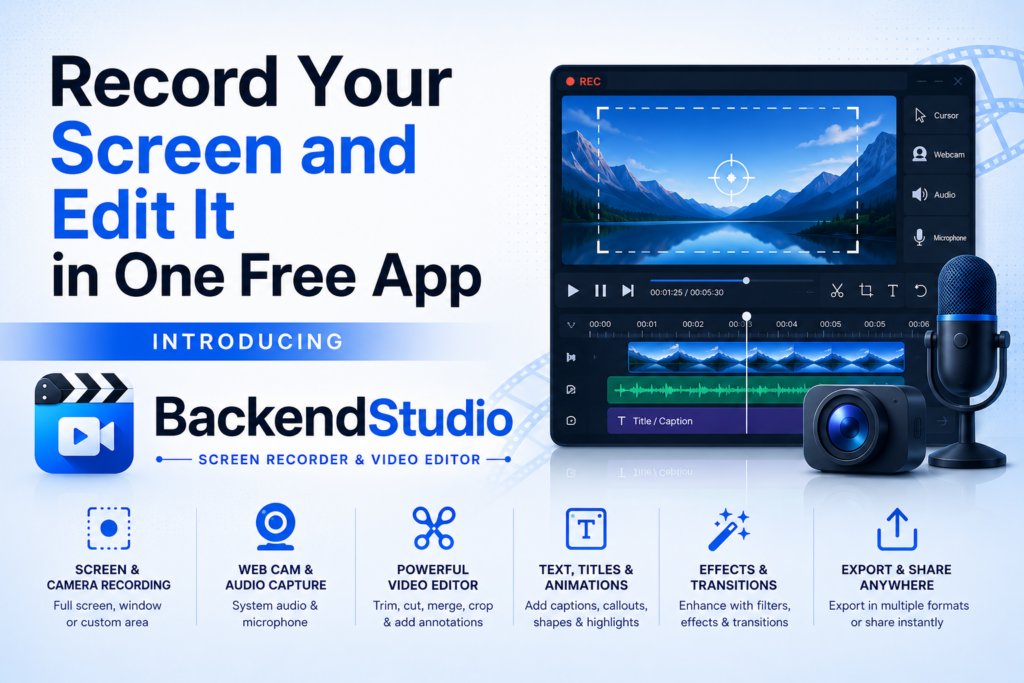
BackendStudio is the whole pipeline in a single free app: record your screen, edit the footage on a real timeline, and export a finished video — all on your own Windows PC, with nothing uploaded and nothing to install beyond the app itself.
Record: screen, audio, and your camera
Press Record, and BackendStudio captures any display at the frame rate you choose. You can include system audio (whatever the computer is playing), your microphone for narration, and an optional webcam/camera overlay — the small “talking head” inset that makes tutorials and reaction videos feel personal. A live preview shows the camera before you start, and a timer tracks the recording as it runs.
The capture is paced at a steady frame rate so playback stays smooth and audio stays in sync — and the moment you stop, the recording lands straight in the media bin, ready to edit. No exporting, re-importing, or hunting for the file.
BackendStudio — Screen Recorder & Video Editor for Windows
BackendStudio records your screen with system audio, microphone and an optional webcam overlay, then lets you edit the footage on a multi-track timeline — cut, split, trim, mix audio, add titles and transitions — and export a finished MP4. It is free to use and works entirely offline. Free exports carry a “Created with BackendStudio” watermark; the one-time BackendStudio Pro add-on removes it.
Edit: a real multi-track timeline
This is where BackendStudio pulls ahead of a plain screen recorder. Your clips go onto a proper multi-track timeline — stacked video and audio tracks with a ruler, playhead and zoom — where you can actually shape the video:
- Cut, split and merge — split a clip at the playhead, drop the bits you don’t want, copy and paste, and merge pieces back together. Editing is non-destructive, so your original recordings are never altered, and everything is covered by undo/redo.
- Arrange and trim — drag clips into place, trim their edges, and snap them to the playhead and to each other for clean joins.
- Layer with picture-in-picture — reposition, scale, rotate and set the opacity of a clip so a webcam or a second recording sits neatly over the main footage.
- Titles & transitions — add captions, and smooth the joins between clips with crossfade/dissolve transitions.
- Colour — adjust brightness, contrast and saturation per clip.
Mix the audio, preview, and export
Good tutorials live and die on their audio. BackendStudio gives every clip its own volume and fade in/out, and lets you mute or solo whole tracks — so you can balance narration against system sound and drop background noise. When you are ready, hit Composite to play back the entire timeline (all tracks combined) and scrub through it to check the edit.
Then Export renders everything into a single MP4 at the resolution and frame rate you pick. Export is hardware-accelerated — it uses your PC’s graphics hardware for fast rendering — and shows a progress bar, with a “Show in folder” button when it finishes. Your project itself saves too, with autosave and crash recovery so an unexpected close doesn’t cost you your work.
A quick tutorial-video workflow
Putting it together, here is the whole loop in BackendStudio — start to finish, no second app:
- Press Record, choose your display, tick system audio and microphone, and enable your camera for a talking-head corner. Record your walkthrough, then Stop.
- The recording appears in the media bin — drag it onto the timeline.
- Split out the dead air and mistakes and delete them; drag the good parts together.
- Add a title card at the start and a crossfade between sections; nudge your webcam clip into the corner with picture-in-picture.
- Balance narration vs. system sound with per-clip volume, add a fade at the ends.
- Composite to review, then Export to MP4 — done.
Free, offline, and yours
Two things set BackendStudio apart from the free recorders and trial editors most people start with. First, every recording and editing feature is free — no time limit, no subscription, no account. Free exports carry a “Created with BackendStudio” watermark, and a one-time Pro add-on removes it; the editing preview is never watermarked. Second, it works entirely offline: your recordings and projects stay on your machine and are never uploaded, which matters for internal demos, confidential walkthroughs, or anything you would rather not push to a web service.
Key takeaways
- BackendStudio is a screen recorder and multi-track video editor in one — no bouncing between apps.
- Record the screen, system audio, microphone and a webcam overlay, then cut, split, layer, add titles/transitions, and mix audio on a real timeline.
- Export to MP4 with hardware-accelerated rendering, and keep working thanks to project autosave and crash recovery.
- It is free to use and runs entirely offline; free exports carry a watermark that the one-time Pro add-on removes.
- Available now on the Microsoft Store for Windows 10 and 11.
If you have been recording in one app and editing in another — or paying a monthly subscription just to keep using an editor — BackendStudio is worth a look.
BackendStudio — Screen Recorder & Video Editor for Windows
BackendStudio records your screen with system audio, microphone and an optional webcam overlay, then lets you edit the footage on a multi-track timeline — cut, split, trim, mix audio, add titles and transitions — and export a finished MP4. It is free to use and works entirely offline. Free exports carry a “Created with BackendStudio” watermark; the one-time BackendStudio Pro add-on removes it.
Leave a Reply